Cable ducts and lids
Cable Duct Profile
After the mounting structure has been properly adjusted and bolted to the steel props, insert the cable duct into the plate (floating installation).
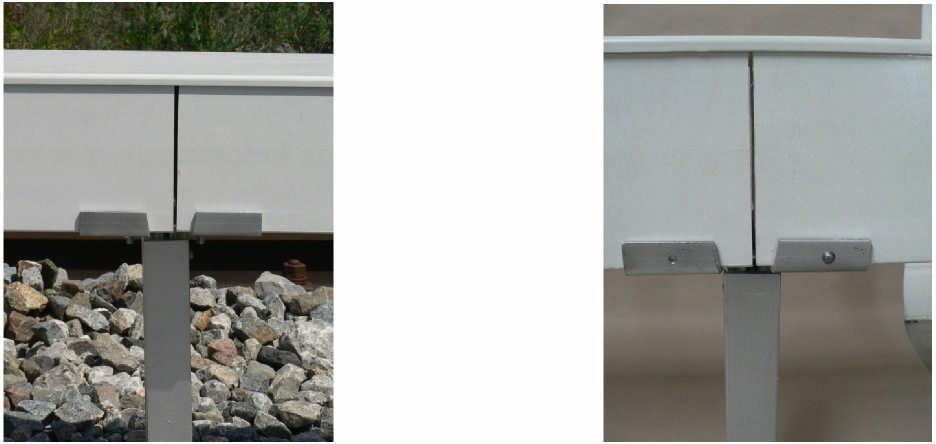
Ensure that there is an air gap of 3 mm at the butt joint (fig. 3).
Secure the installed cable troughs at intervals of 30 m (on both sides) using grooved pins (fig. 4). The hole in the mounting plate serves as a drilling jig.
If obstacles, such as overhead line masts or signal masts, are encountered, the cable troughs and lid profiles will need to be cut to the required angle.
A lowering kit is required for vertical deviations to ensure stress-free installation of the cable ducts.
If the pillar-mounted cable route is not connected to an underground cable duct or similar, an end cover must be installed at the end of the duct.
Stress-free installation of the cable ducts is essential. No sharp edges are permissible inside or outside the cable duct system.
Ensure compliance with the maximum permissible bending radii of the cables to be installed.